Diaphragm Replacement Guide
Caution: While we are pleased to provide this information on how to replace a diaphragm, we strongly recommend that you seek professional support for these procedures in order to ensure long term component performance.
If you wish to proceed, please follow these steps very carefully, and read the entire document before starting the process.
Supplies and Tools Required:
- Screw driver
- Masking Tape
- Compressed air source
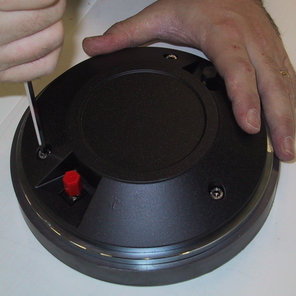
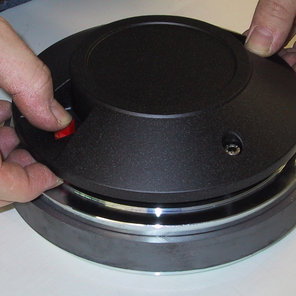
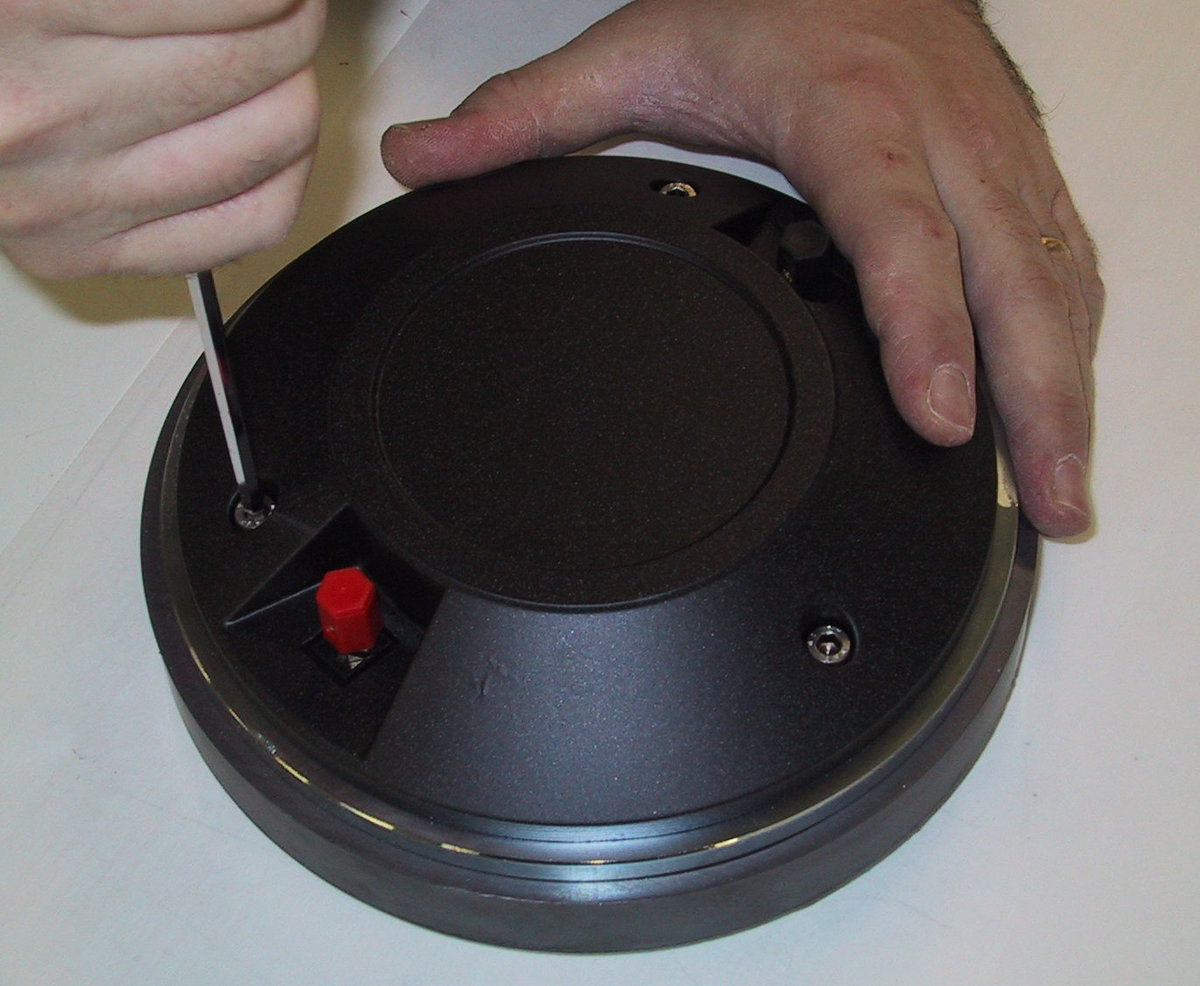
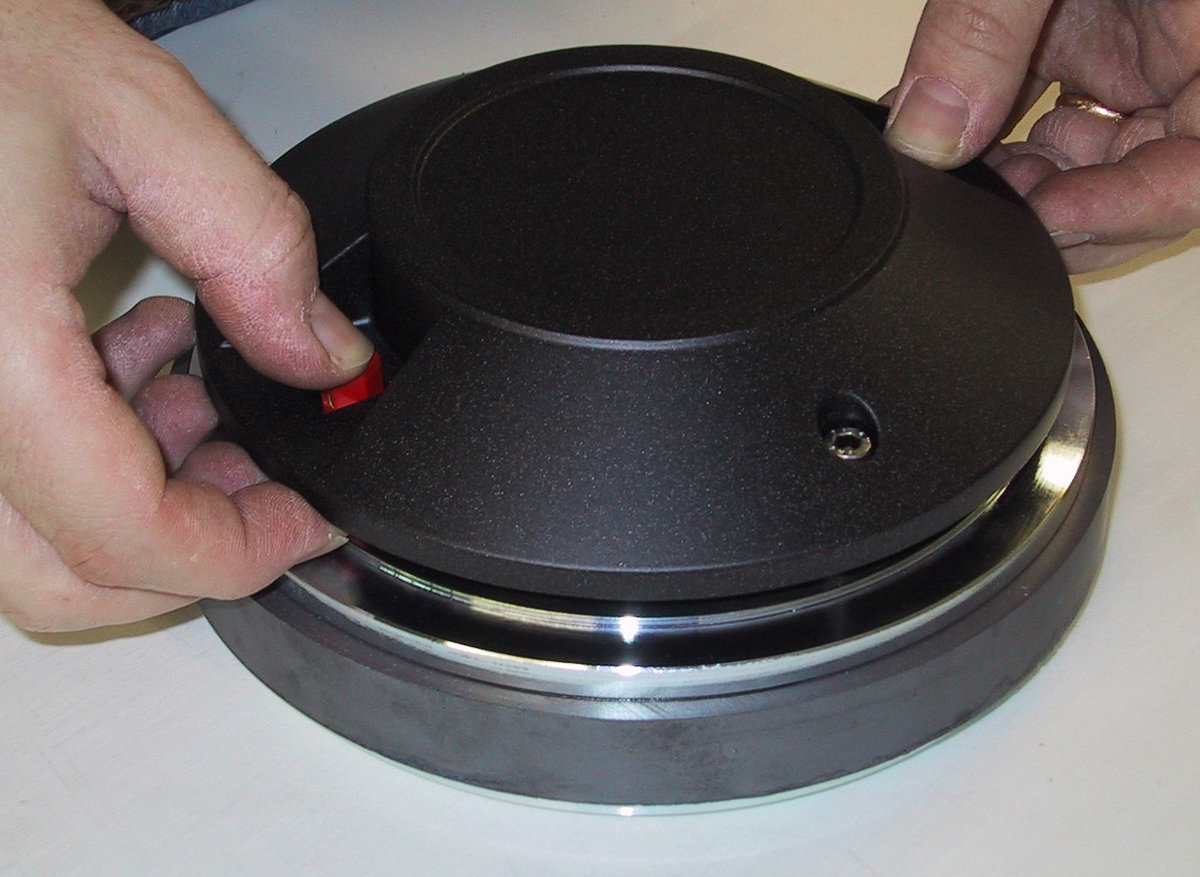
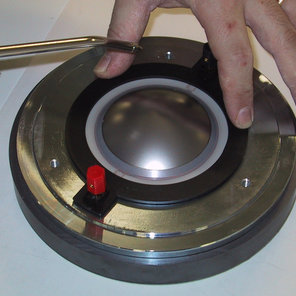
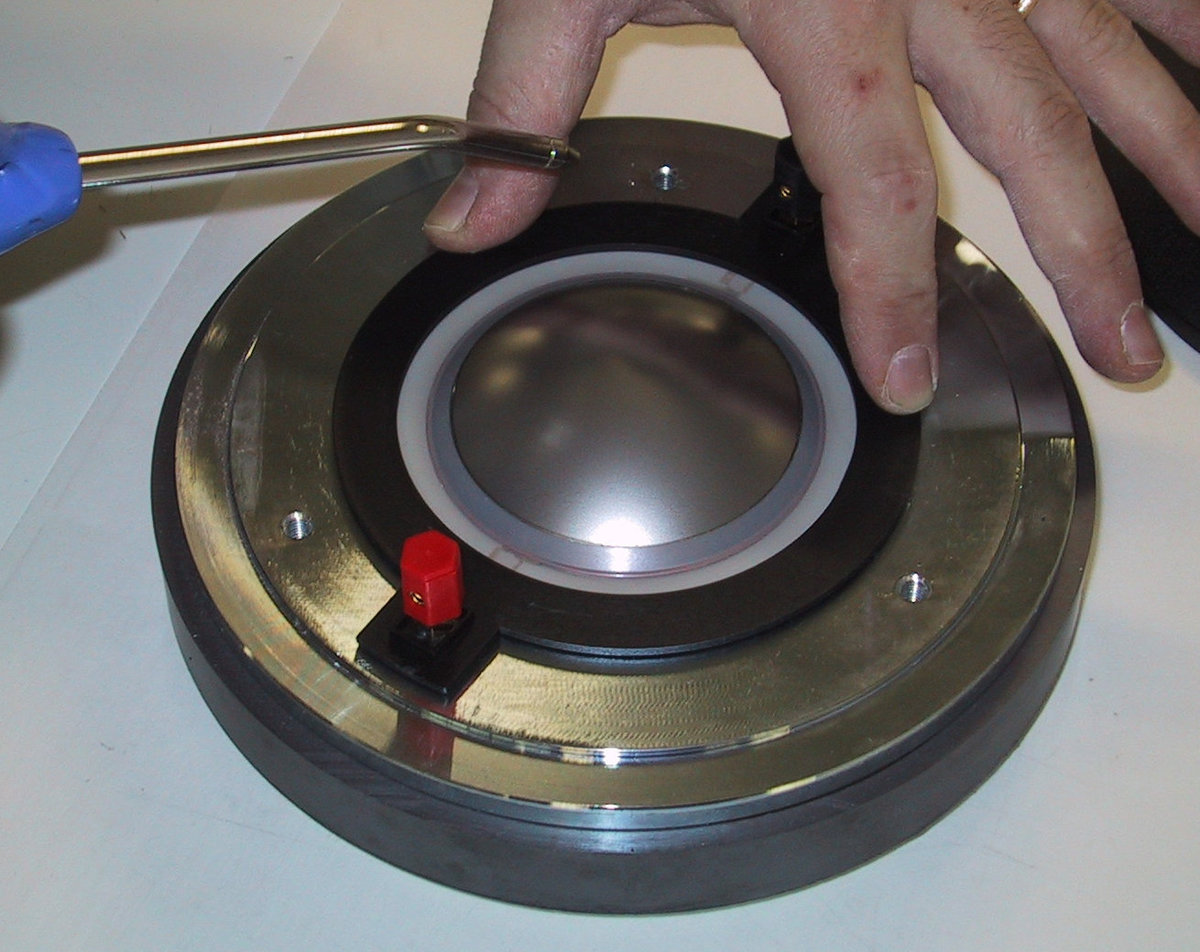
Step 1: Loosen the screws, remove the cap of the driver, holding the membrane firmly in place by the terminals.
Step 2: Blow the entire area where the membrane sits, delicately with compressed air, in order to eliminate any metallic dust or fine grit
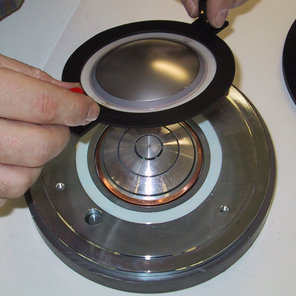
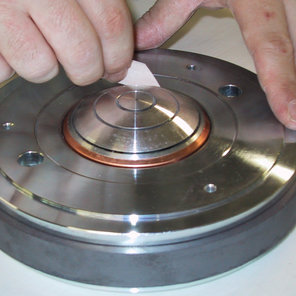
Step 3: Remove the defective membrane; pay attention that there is NOT a plastic shim between the diaphragm and the plate. If there is a shim, it is very important that this same shim be re-used when you replace the new membrane
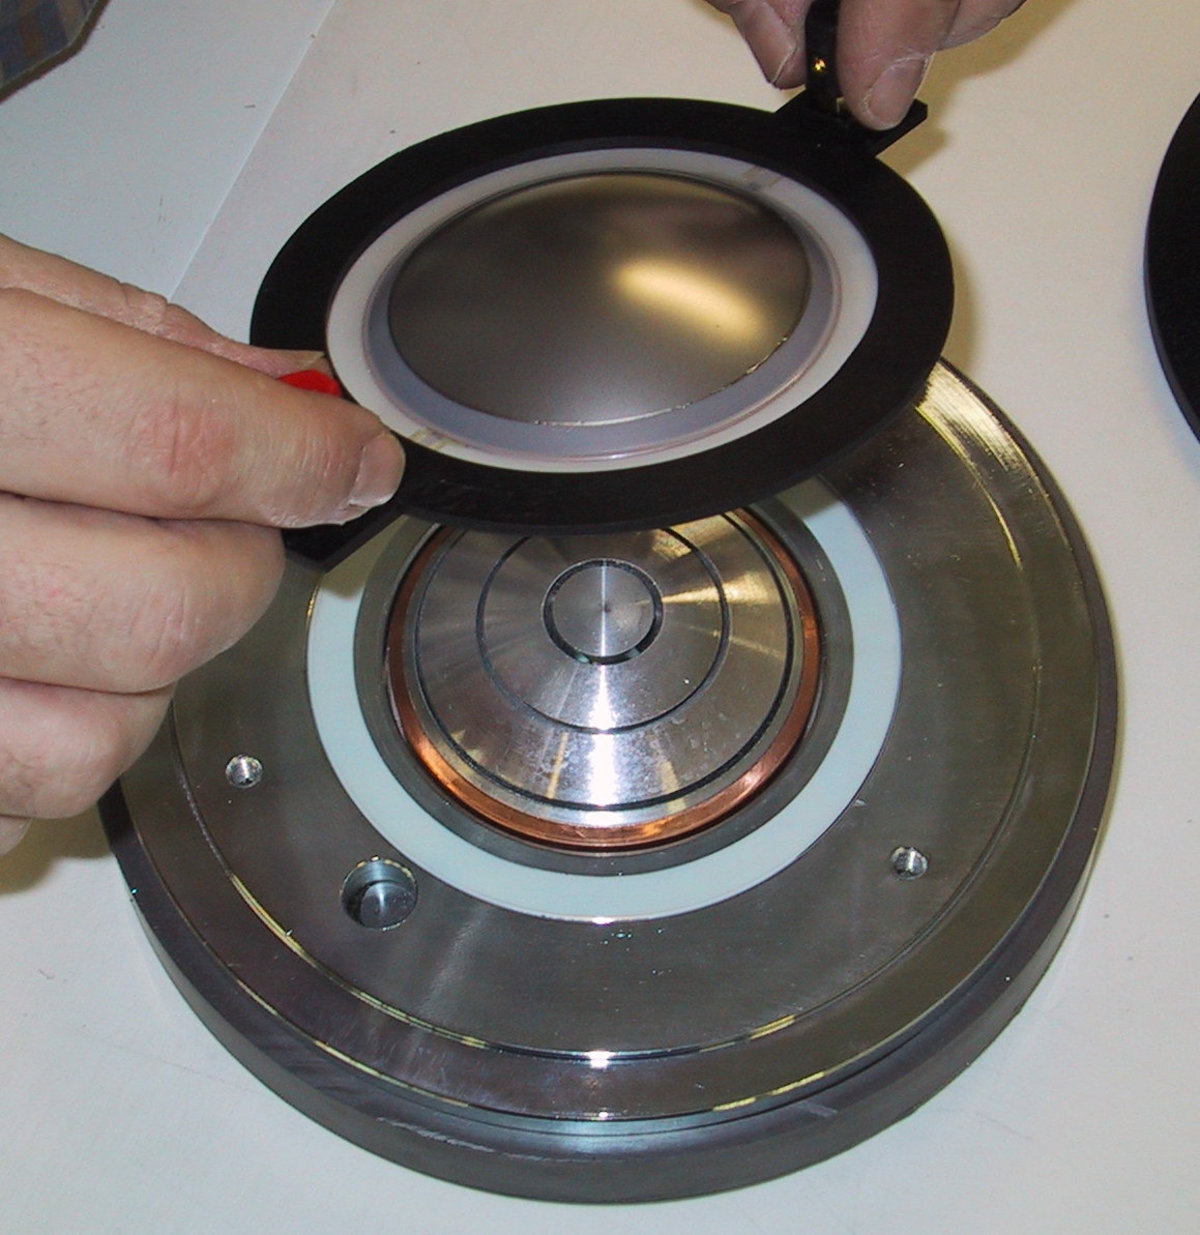
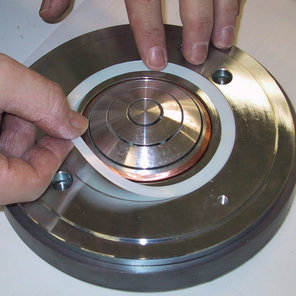
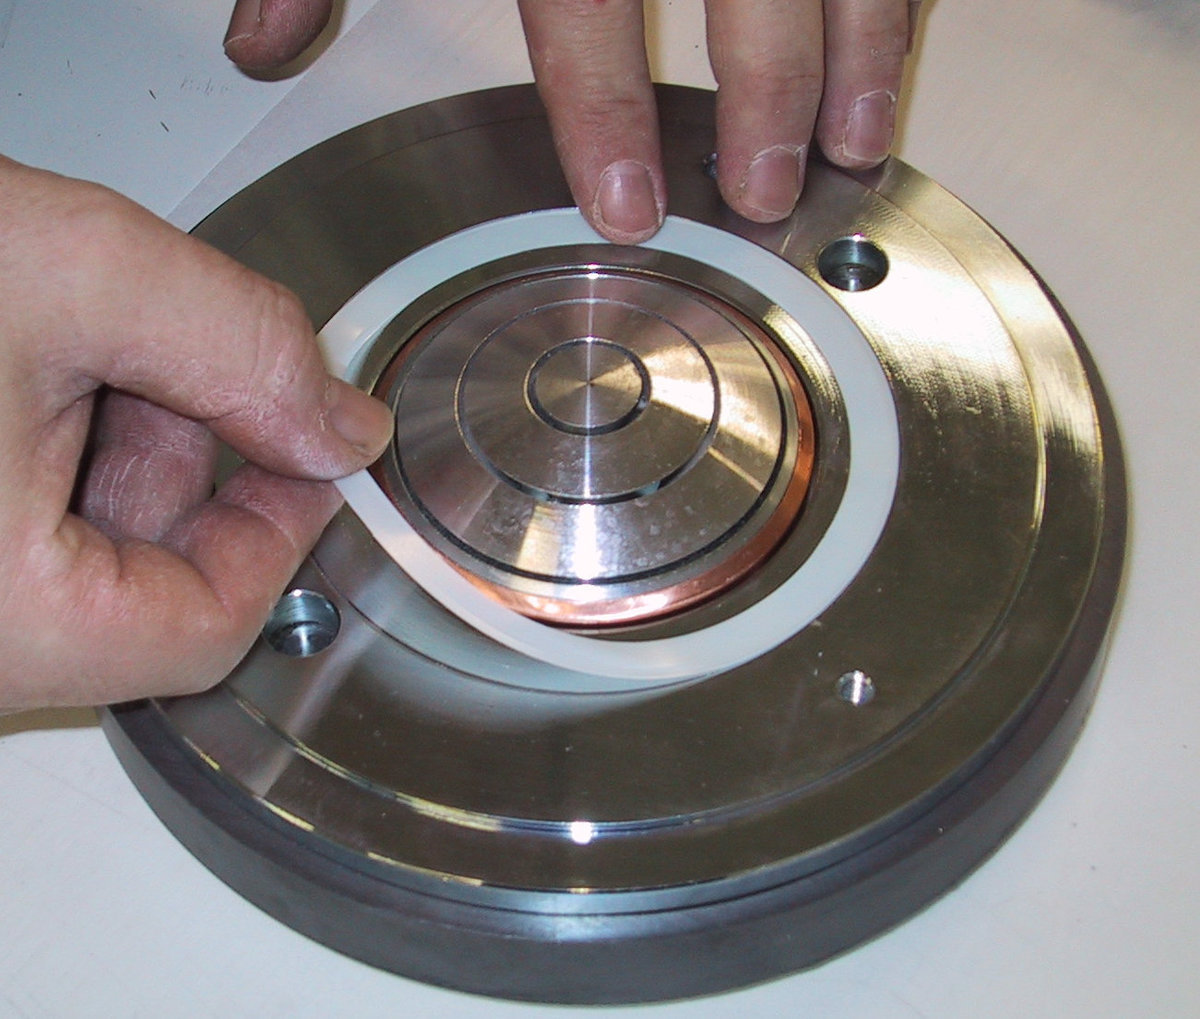
Step 4: Visually inspect the gap and make sure it is clean: if not, use a piece of masking tape to carefully clean all particles from the gap. This step is extremely important. The gap must be 100% free of any and all foreign matter

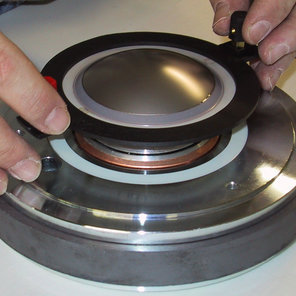
Step 5: Place the new membrane in its center using the same shim you removed in step 3, when you disassembled the driver

Step 6: Re-position the rear cap and tighten the screws
It is advisable, at this point, to do an acoustic test, to verify that you have installed the diaphragm properly:
Hook up the driver to an oscillator and an amplifier.
Conduct a sweep test from 200 Hz to 1000 Hz, applying 3 – 4 V rms. During the test you should not hear any noise or strange vibration; instead, you should hear a "clean" sweep sound. If not, it is possible that some particles of foreign matter were left in the gap. In that case return to step 4, and repeat the operation.